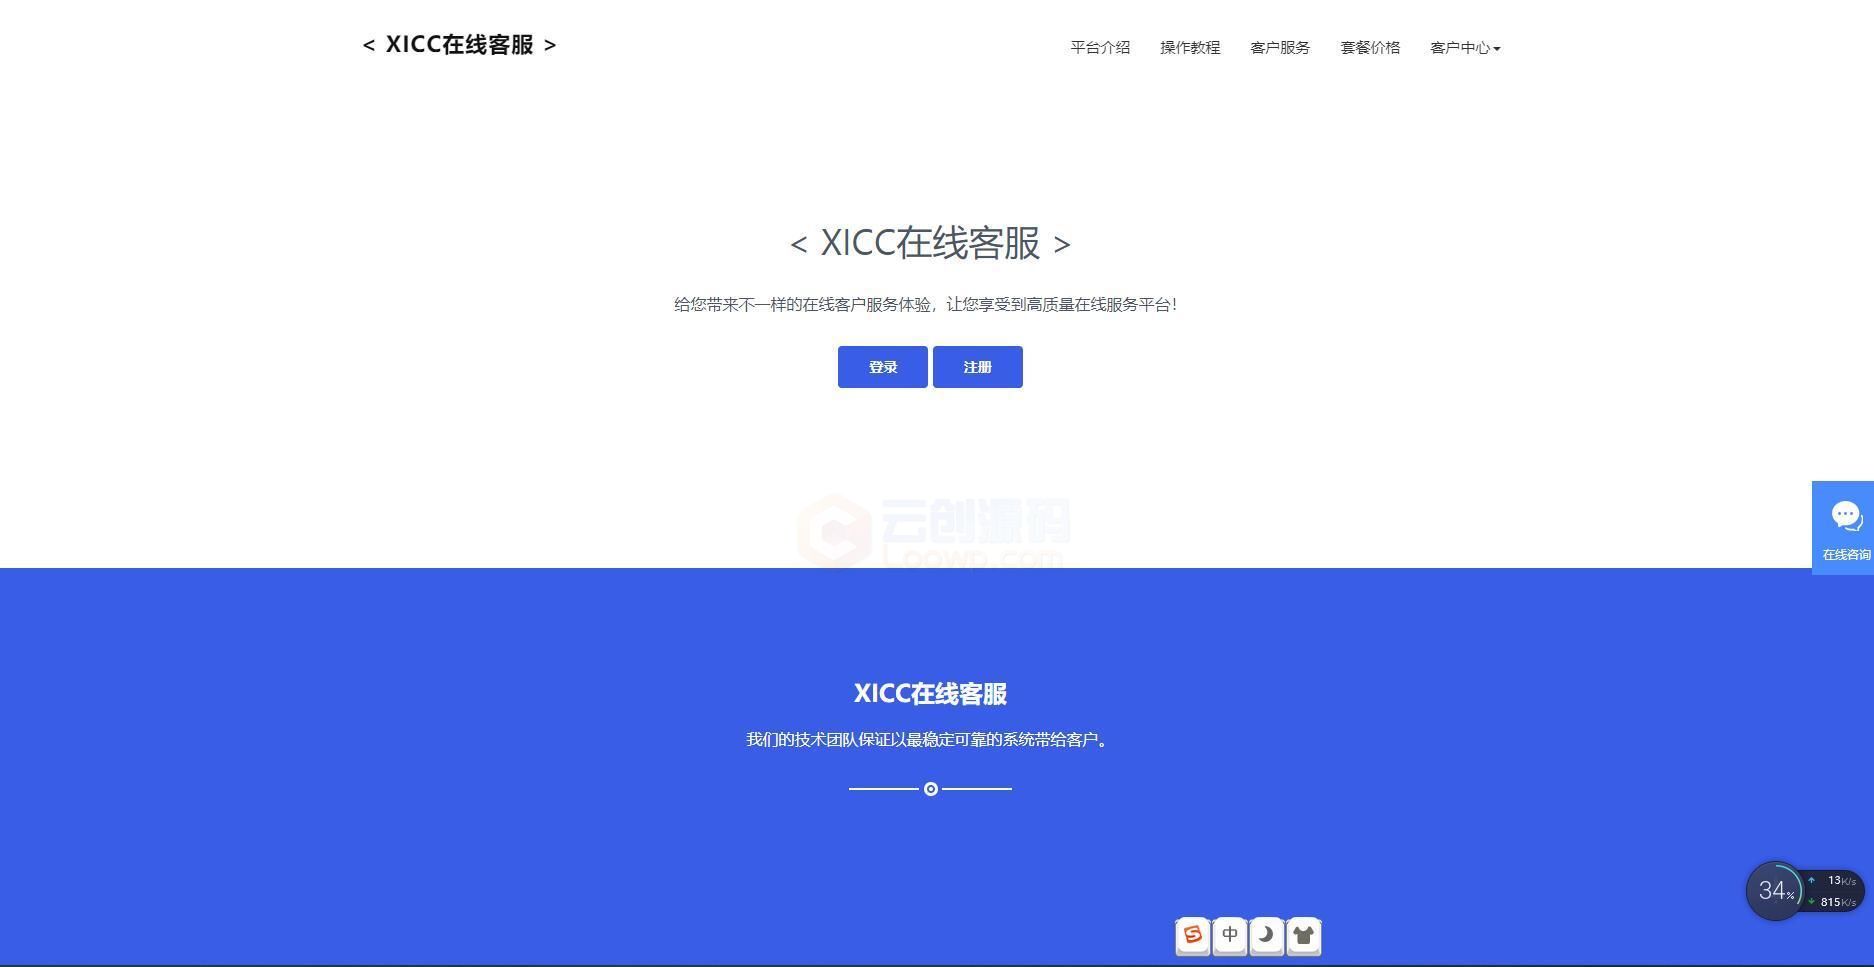
【在线客服系统】2020.8月最新更新全新二开UI 在线客服源码 无授权运营级 带搭建教程
和前面发的那几套的ui不太一样,功能没仔细看,全开源,运营级。
带非常完整的文本、视频教程,萌新也可以部署属于自己的客服系统
东西如下图,在线客服的ui都差不多。
后台账号:admin 密码:vuesite.cn
搭建教程:
开7272 端口
设置伪静态
修改application\index\view\index内的127.0.0.1
修改 application
database.php config 127.0.0.1:7272
1.客户端接入
1、添加laykefu.css样式文件
<link href=”你的域名/static/customer/css/laykefu.css” rel=”stylesheet” type=”text/css” />
2、添加jquery.js和laykefu.js 文件
<script src=”https://cdn.staticfile.org/jquery/2.1.4/jquery.min.js”></script>
<script src=”你的域名/static/customer/js/laykefu.js”></script>
3、添加html目标代码 ,样式可根据需求自定义
<div class=”laykefu-min”>咨询客服</div>
默认显示一个客服
4、初始化laykefu
laykefu.init({
group: 1,//客服分组
socket: ”,//聊天服务器地址 本地测试可以设置为127.0.0.1:7272
face_path:’/static/customer/images/face’,//表情包路径
upload_url:’/index/upload/uploadImg’,//图片上传路径
});
5、如果需要展示多个客服,那么需要这么修改
<div class=”laykefu-min” data-group=”1″ >售前客服</div>
<div class=”laykefu-min” data-group=”2″ style=”margin:100px”>售后客服</div>
初始化前需要先获取group的值
$(“.laykefu-min”).click(function(){
var group = $(this).attr(‘data-group’);
laykefu.init({
group: group,//客服分组
socket: document.domain+’:7272′,//聊天服务器地址,其实socket可以设置为ip:7272或者域名:7272,然后nginx做反向代理可以设置为 域名/wss
face_path:’/static/customer/images/face’,//表情包路径
upload_url:’/index/upload/uploadImg’,//图片上传路径
});
});
[可选] nginx反向代理 wss
location /wss {
proxy_pass http://127.0.0.1:7272;
proxy_set_header X-Real-IP $remote_addr;
proxy_set_header Host $host;
proxy_set_header X-Forwarded-For $proxy_add_x_forwarded_for;
proxy_http_version 1.1;
proxy_set_header Upgrade $http_upgrade;
proxy_set_header Connection “upgrade”;
rewrite /wss/(.*) /$1 break;
proxy_redirect off;
}
[可选] nginx反向代理 ws
location /wss {
proxy_pass http://127.0.0.1:7272;
proxy_set_header X-Real-IP $remote_addr;
proxy_set_header Host $host;
proxy_set_header X-Forwarded-For $proxy_add_x_forwarded_for;
proxy_http_version 1.1;
proxy_set_header Upgrade $http_upgrade;
proxy_set_header Connection “upgrade”;
rewrite /ws/(.*) /$1 break;
proxy_redirect off;
}
6、可选参数 可配置参数如下
laykefu.init({
uid: ”,//客户id
name: ”,//客户昵称
group: ”,//客服分组
avatar: ”,//客户头像
socket: ”,//聊天服务器地址
face_path:”,//表情包路径
upload_url:”,//图片上传路径
height:”,//窗口高度
width:”,//窗口宽度
});
5、关联已有账户系统 默认情况下咨询的客户是随机分配账户信息,如果你的平台有账户系统,那么可以在初始化的时候传递uid和name即可
2.服务端配置
去掉php pcntl相关函数禁用(pcntl_alarm,pcntl_fork,pcntl_signal) 根目录指向public 开启伪静态
1、修改application/database.php数据库信息,配置后台socket地址,一般情况下和前台地址相同:
2、如果你是在服务器上运行该项目,请开放7272端口供laykefu使用,以阿里云为例,在网络和安全的安全组里面修改规则,增加7272端口
3、如果指定某个域名才能connect,那么请修改Events.php的HTTP_ORIGIN参数
4、启动gatawayworker相关服务 如果你是在windows上运行的话,直接双击/vendor/workerman/Conf/start_for_bat.bat即可 如果你是在linux或mac上运行的话,请进入/vendor/workerman/Conf/目录,然后运行
php start.php start -d
开启服务 命令如下 启动 以debug(调试)方式启动
php start.php start
以daemon(守护进程)方式启动
php start.php start -d
停止 php start.php stop
重启 php start.php restart
平滑重启 php start.php reload
查看状态 php start.php status
查看连接状态 php start.php connections


